
Yesterday I finally lost my patience with the developer’s eternal problem of having to skip the untrusted self-signed certificate interstitial warning screens, and so I decided to solve it properly. The problem has got worse recently due to a combination of changes in the world and my projects:
- Containerisation – in Docker containers “localhost” is no longer useful as a service hostname as every service has their own localhost! So I have migrated towards using local host names, .local or .dev patterns etc.
- Chrome has long made special exceptions to “localhost” to allows invalid certificates which ease development pains. This is now lost due to 1).
- Chrome doesn’t resolve .localhost domain extensions which are spoofed in a container’s /etc/host file. I recently hit this problem at work, while migrating Selenium tests to Docker. So again we had to migrate our test domains to something.local instead of .localhost.
- Chrome since about v60-ish now requires a subject alternative name (SAN) in a certificate and won’t respect a fallback to a local canonical name.
- Whenever my local Node.js application crashes with an exception, Chrome forgets the fact I’ve whitelisted the certificate. It took me a while to realise this was happening, but I now see it’s 100% correlated. This has led to a gradual fear of crashes (probably a good thing).
Being RSI conscious and generally lazy, having to click three more things each dev-cycle is a major pain. Also the fact that Browsersync stops working every time too makes it even more work to resume – involving double-clicking the failed GET in the network tab, and accepting the same warning message in a temporary browser window.
After reading the Chrome team’s official vision, and with my recent experience in setting up a personal CA for a business to allow them to use client-certificates for authenticating remote staff, I decided the best, most permanent solution is to use a personal CA added to the trust root of the local host, which signs the local cert – instead of self-signing.
While the process is actually easy to perform, I found as usual the historical complexities of the OpenSSL command line options and configuration files, plus the lack of a single article on this specific approach, meant I had to fiddle around for a while to get it right.
Things that made it tricky:
- You cannot add a SAN on the openssl command line, so you must use a config file.
- The config files overlap between “req” and “x509” are not immediately obvious.
- People helpfully offer solutions using “openssl req -x509” which can do everything in one pass but it can only self-sign certificates.
- The config file section names are themselves configurable, so there’s differences across the examples and tutorials
I started from this simplified gist and my knowledge of the fabulously professional and detailed OpenSSL DIY-CA guide by Jamie Nguyen (aimed at production quality so the setup is a bit over-complex for local dev).
The configuration file mysite.local.conf, which contains sections for both the “req -config” option and the “x509 -extfile” option is as follows.
The important part for generating a CSR with SANs with “req” command and then making the certificate signed with the CA with “x509” command, is for the “req” command the config line “req_extensions = v3_ca” tells it to find the extensions section with the SAN, but for “x509” it’s the “-extensions v3_ca” option which points to the same section in the “-extfile” file. This took me a while to get right – although it seems obvious now!
[req]
default_bits = 2048
prompt = no
default_md = sha256
distinguished_name = req_distinguished_name
req_extensions = v3_ca

[req_distinguished_name]
C = AU
ST = SYDNEY
L = NSW
O = MyOrganisation
OU = MyOrganisation Unit
CN = *.local

[v3_ca]
basicConstraints = CA:FALSE
keyUsage = digitalSignature, keyEncipherment
subjectAltName = @alternate_names

# I added localhost wildcards for general compatibility with older projects.
[alternate_names]
DNS.1 = localhost
DNS.2 = *.localhost
DNS.2 = *.local
DNS.3 = mysite.local
The process – to create a CA and create a certificate for the local site with the above SANs:
1. Make root CA Key
openssl genrsa -des3 -out rootCA.key 4096
> secret
2. Create and self-sign the CA Root Certificate
openssl req -x509 -new -nodes -key rootCA.key -sha256 -days 1024 -out rootCA.crt -config mysite.local.conf
Once that’s done, this CA can be used to issue many site certificates.
3. Make local site key
openssl genrsa -out mysite.local.key 2048
4. Make certificate request (CSR)
openssl req -new -key mysite.local.key -out mysite.local.csr -config mysite.local.conf
5. Generate and sign the site certificate.
openssl x509 -req -in mysite.local.csr -CA rootCA.crt -CAkey rootCA.key -CAcreateserial \
  -out mysite.local.crt -days 500 -sha256 -extfile mysite.local.conf -extensions v3_ca
> secret
6. Install the certificates.
The critical step which makes all the difference to this approach is getting your host to trust the personal CA. This is slightly different for Windows, Mac and Unix, or iOS, but the principle is the same – you add it to the list of “trusted roots”.
In Mac, you can open a .crt file which will add it into your Keychain Access, under Login Keychain > Certificates Category.
Then you must open the “Trust” section and set it to “Always Trust”.
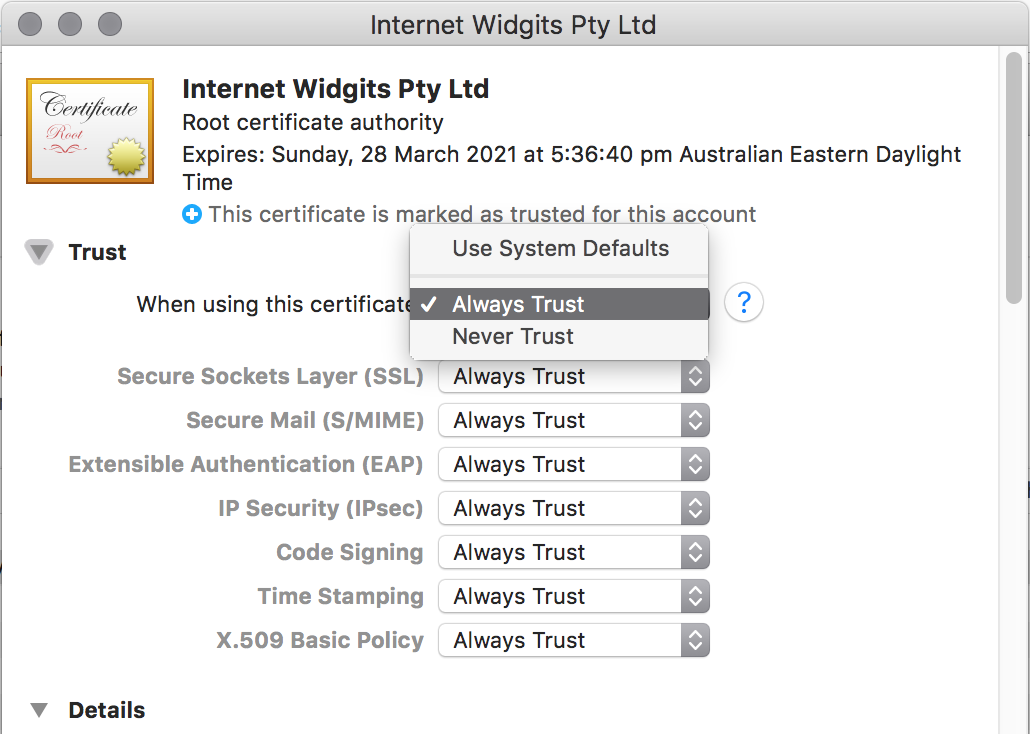
Once you have done this any site certificate signed by this fake CA will be trusted by your entire machine – in theory all applications, all browsers and the O/S itself. This is important to developers using various tools – IDEs, Postman, CURL or other API clients. It’s not just a specific solution for Chrome (like startup flags).
After copying the site certificate and key into place in my ExpressJS app, and restarting finally Chrome shows the valid “Secure” icon! No more interstitials…
If you inspect the certificate in Chrome, you should see both the site cert and the CA cert are both valid and trusted.
The site (the SANs are under Details):
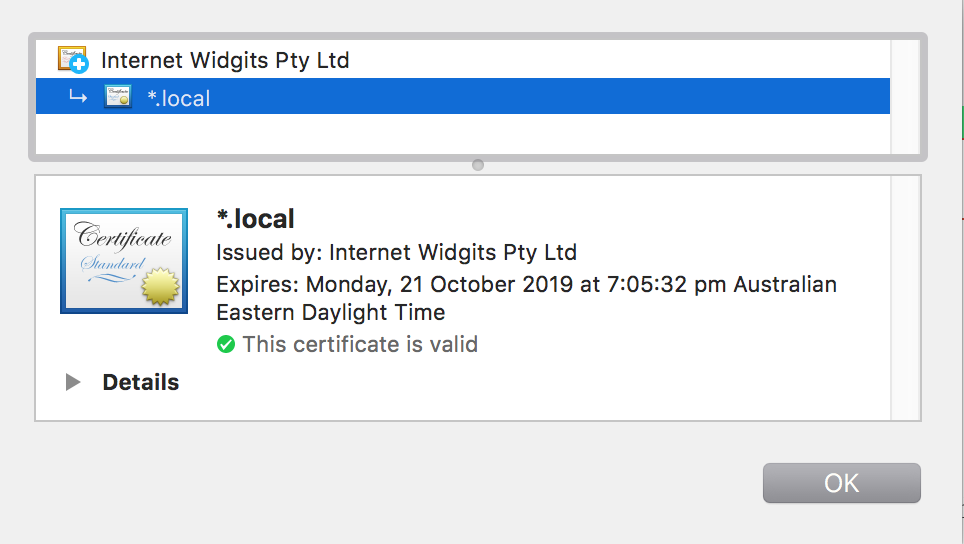
The CA:

I also had to add it to Browsersync configuration:
browserSync.init({
 https: {
 key: "../ssl/mysite.local.key",
 cert: "../ssl/mysite.local.crt"
 },
});
Which also started working again on Gulp restart.
Now this is working and stable, it really has made a difference to my workflow – just one less level of friction and annoyance in my daily grind. I’ll have to find something else to get annoyed about now.